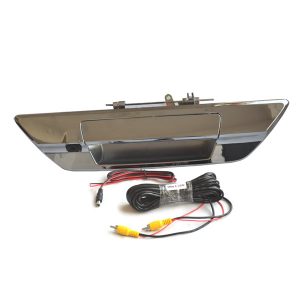
Tailgate Handle Backup Camera for Toyota Tundra
$109.00 – $188.00Price range: $109.00 through $188.00
Toyota Tundra Backup Camera Summary:
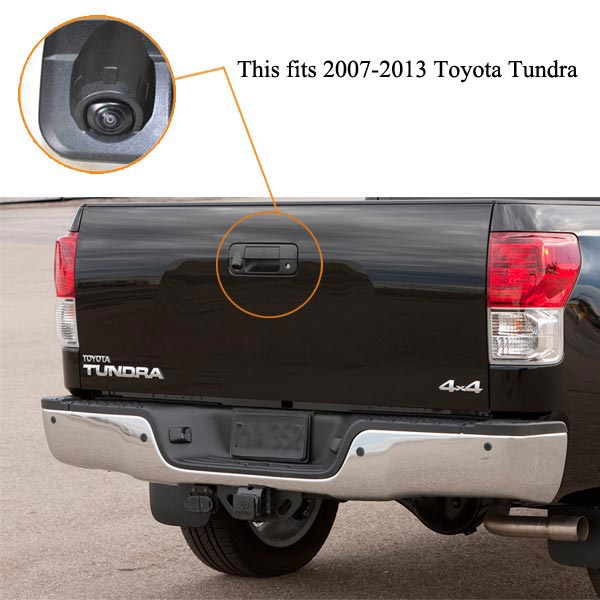
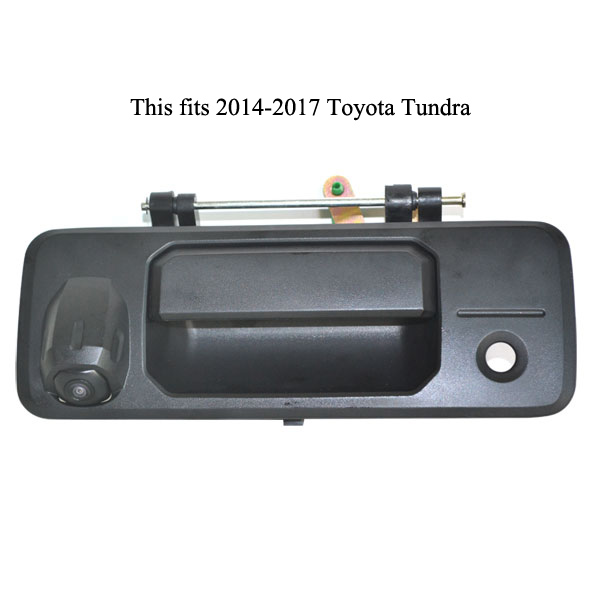
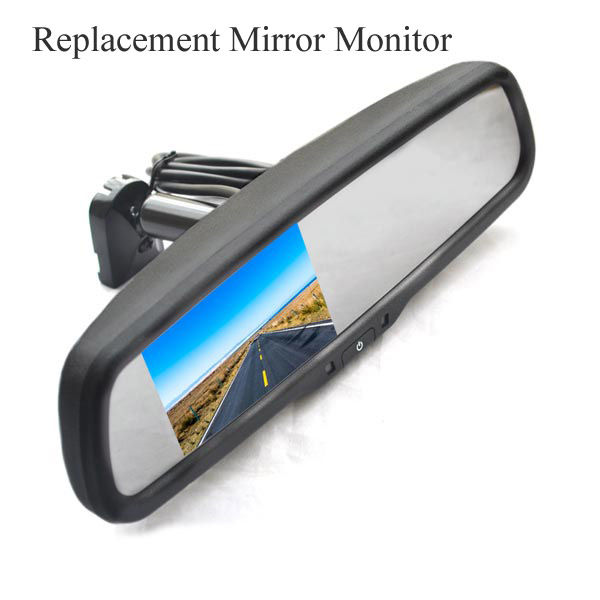
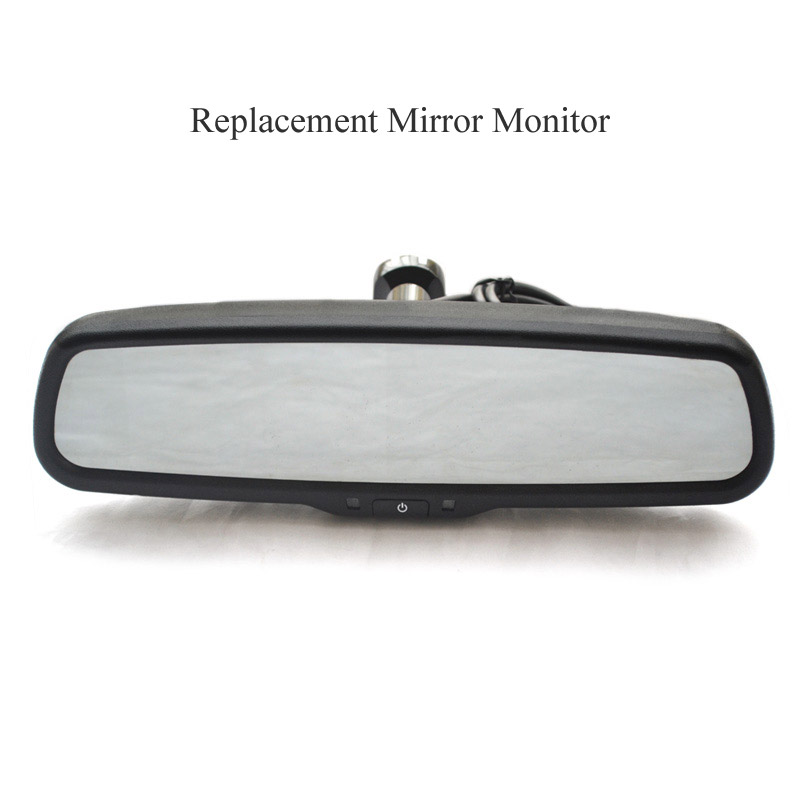
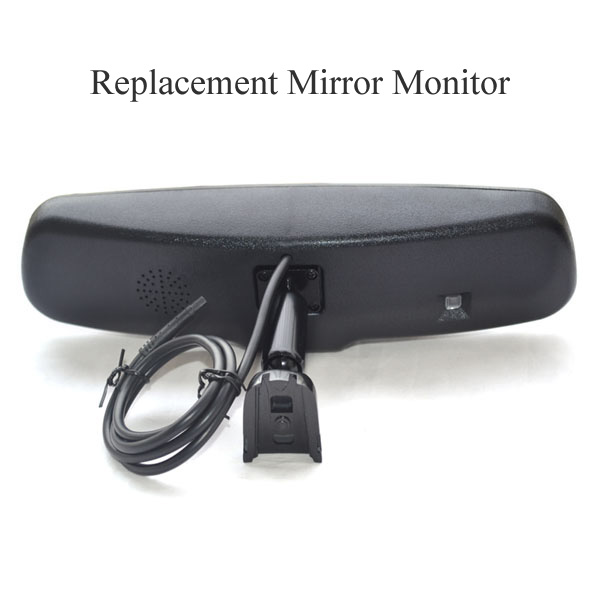
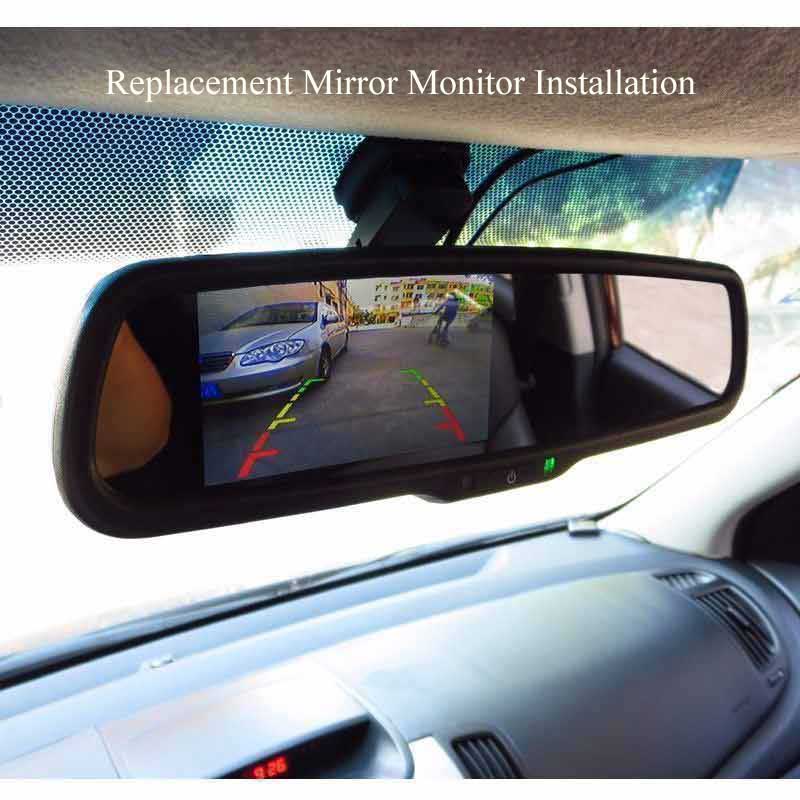
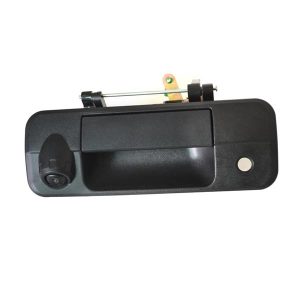
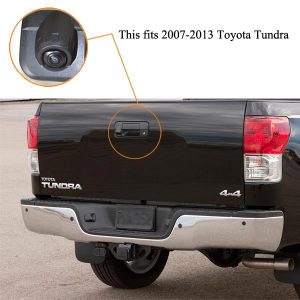
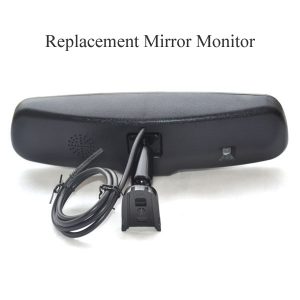
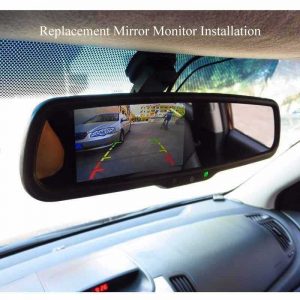
This Toyota Tundra backup camera is designed to replace your existing tailgate handle, while the replacement rear view mirror monitor (if you choose this monitor) is also designed to replace your existing rear view mirror. Both parts are very well designed and fit so well into your truck, that they are barely noticeable. Backup your Toyota Tundra safely and comfortably with this complete backup camera and rear view mirror monitor package. Unlike other aftermarket backup cameras or monitor systems, this one works straight out of the box in your Toyota Tundra truck. Combining a tailgate handle backup camera, with a replacement rear view mirror monitor, to create an easy to install and use Toyota Tundra backup camera system. It offers a full color and super-bright display, night vision ability, and features parking grid lines. You can use it between a simple rear view mirror and a backup monitor. This package integrates a 480 x 272-pixel display, which measures 4.3 inches across, in a 16:9 aspect ratio. So much image detail in such a little space shows you how much detail this monitor displays. The super sharp imagery of this display allows you to pick up every little piece of detail, while the ultra-reflective surface of the entire rear view mirror monitor means you still have a fully functional rear view mirror to rely on.
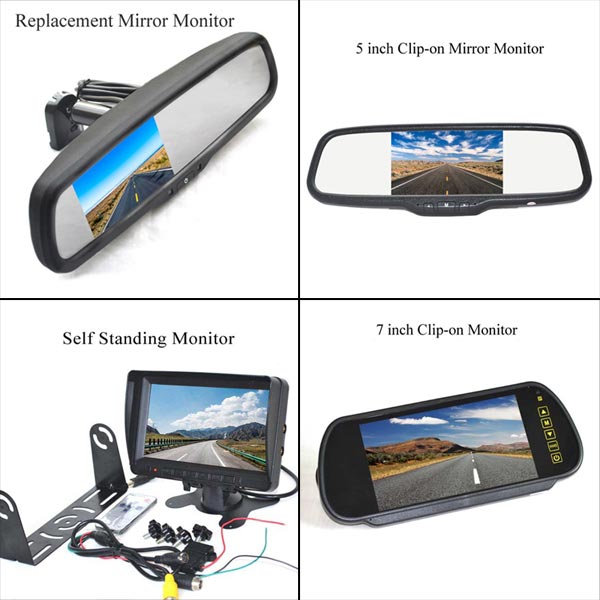
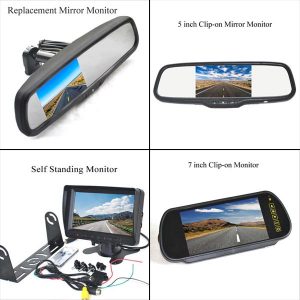
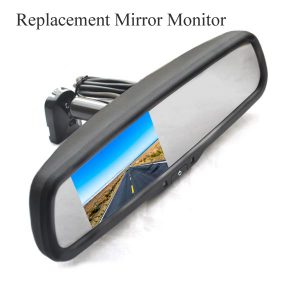
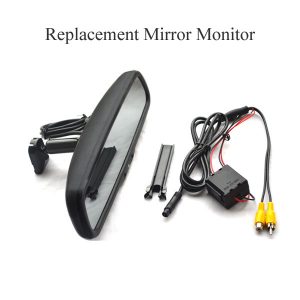
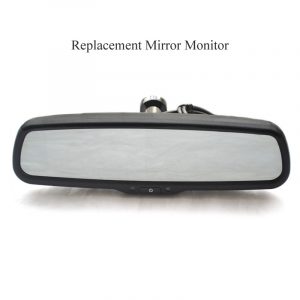
Highlights of Replacement Mirror Monitor:
- Works flawlessly with the tailgate handle camera and your Toyota Tundra trucks.
- Ultra reflective mirror functions both as a mirror and a monitor display.
- Includes grid lines for a safer backup experience.
- Mounted with 2 ball joints for more flexible adjustments.
- High-quality 480 x 272 resolution.
- Monitor integrates a 4.3” display.
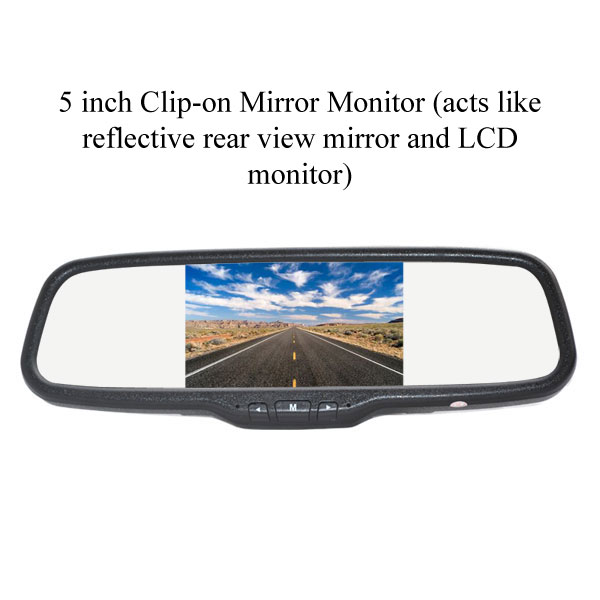
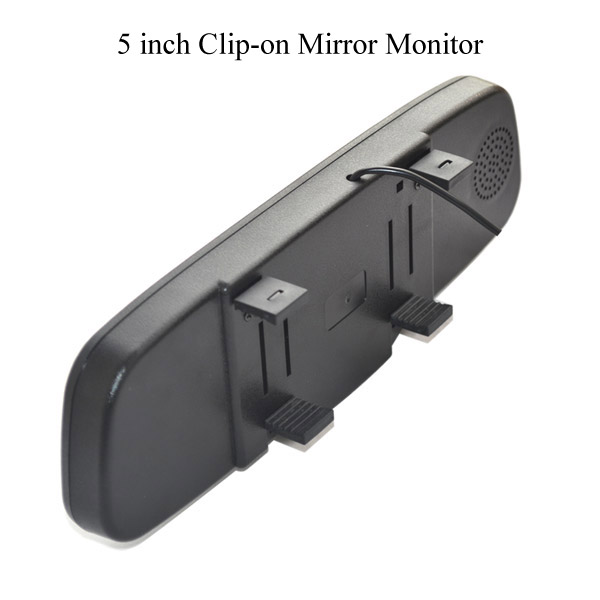
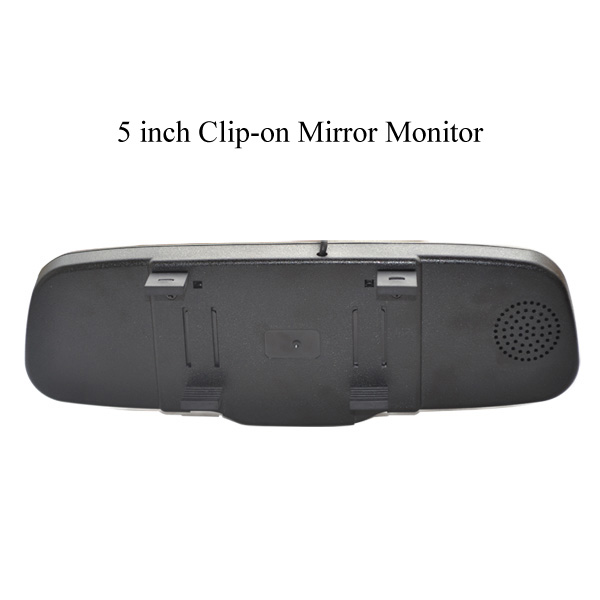
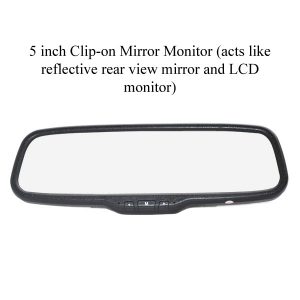
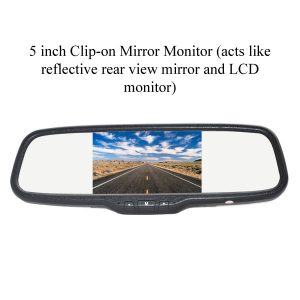
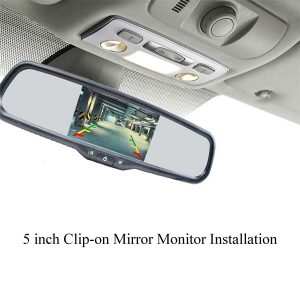
Highlights of 5 inch Clip-on Mirror Monitor:
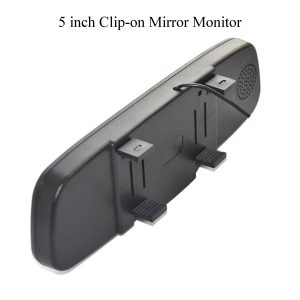
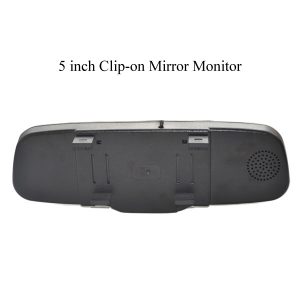
- Attach to your existing rear view mirror with pressure clips, which will not take up room on your dash.
- Ultra reflective mirror functions both as a mirror and a monitor display.
- Includes grid lines for a safer backup experience.
- High-quality 480 x 272 resolution.
- Monitor integrates a 5” display.
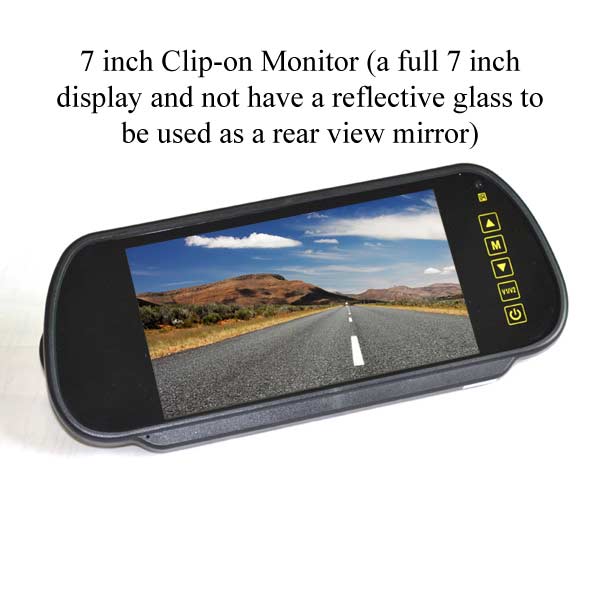
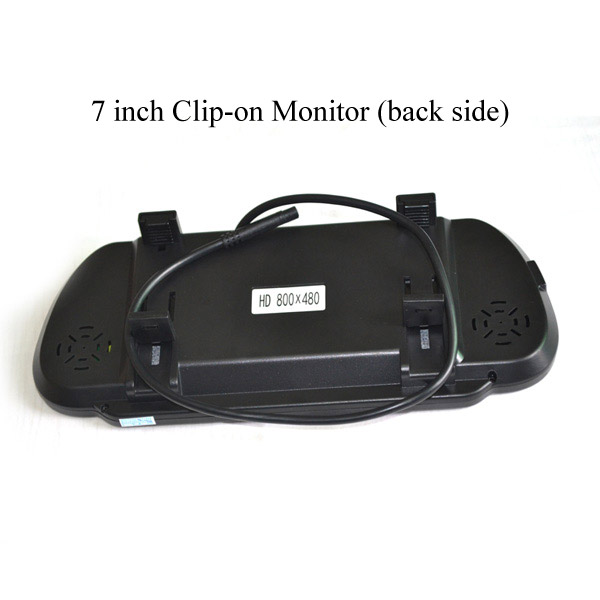
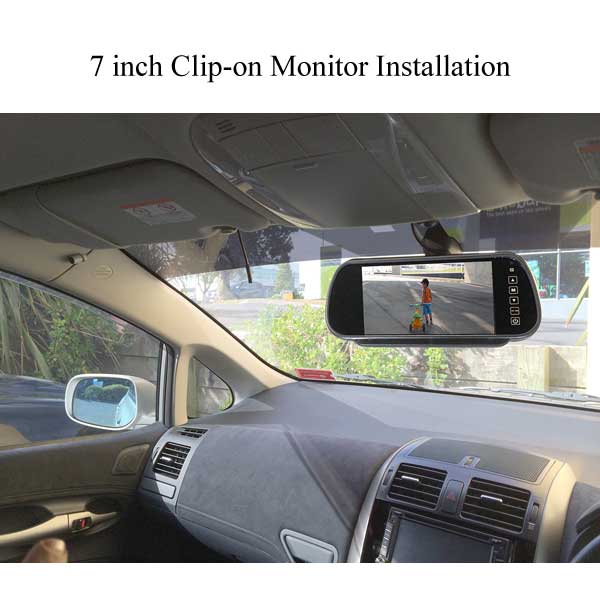
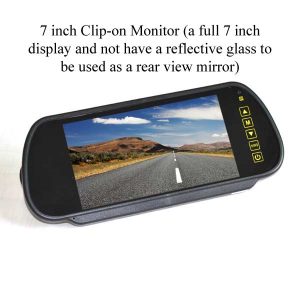
Highlights of 7 inch Clip-on Monitor:
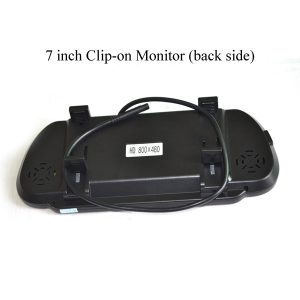
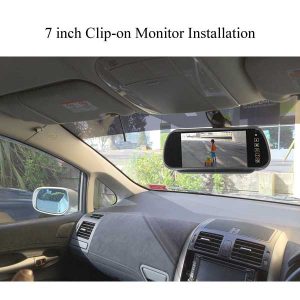
- Attach to your existing rear view mirror with pressure clips, which will not take up room on your dash.
- It’s a monitor only, can’t use it as regular rear view mirror.
- Includes grid lines for a safer backup experience.
- High-quality 800 x 480 resolution.
- Monitor integrates a 7” display.
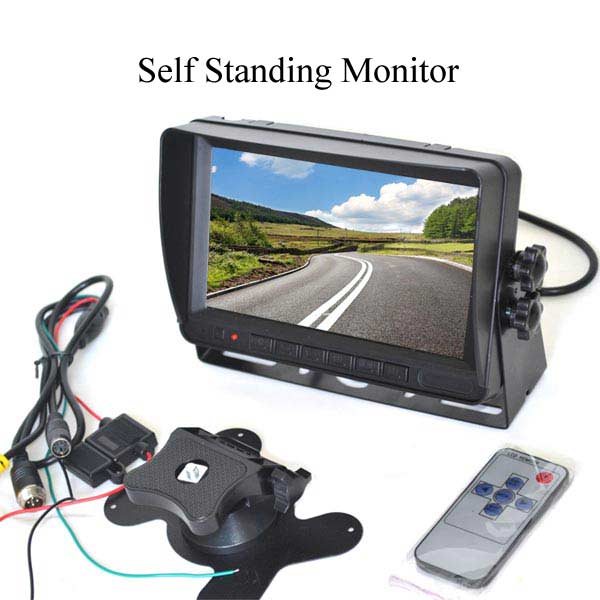
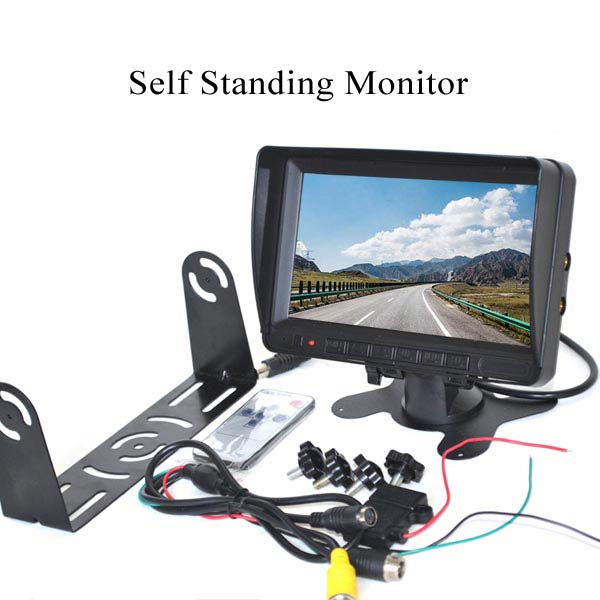
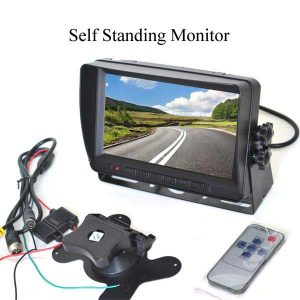
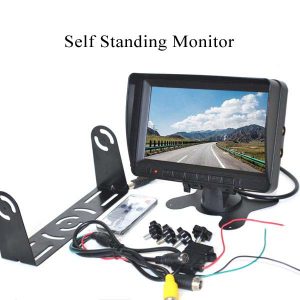
Highlights of Self Standing Monitor:
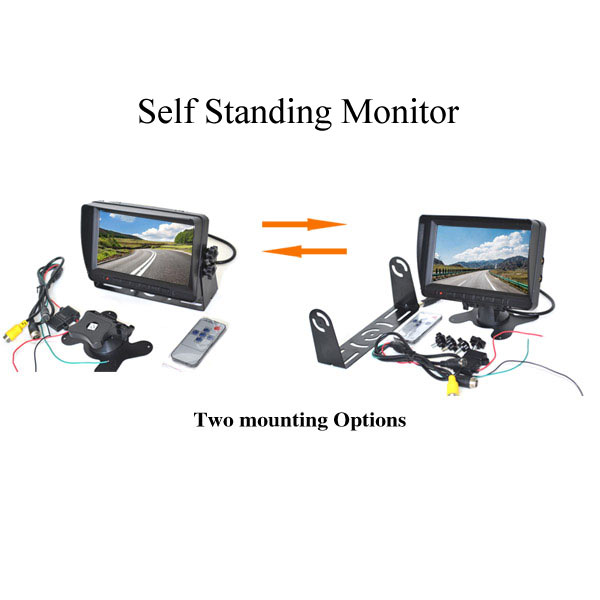
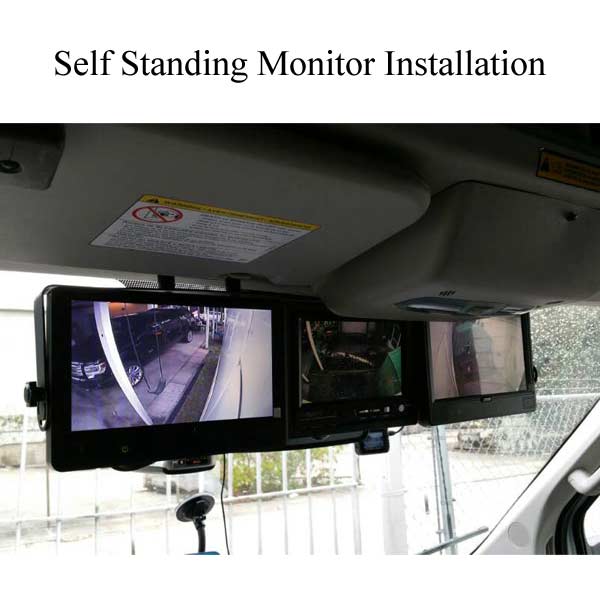
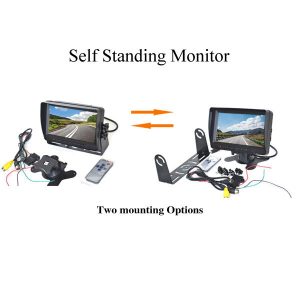
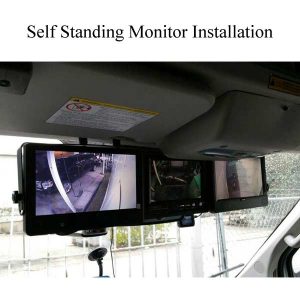
- Can be mounted on the roof or on the dash.
- Including 2 mounting options.
- Includes grid lines for a safer backup experience.
- High-quality 800 x 480 resolution.
- Monitor integrates a 7” display.
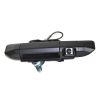
Highlights of Our Toyota Tundra backup camera:
- OEM designed for a factory-like fit.
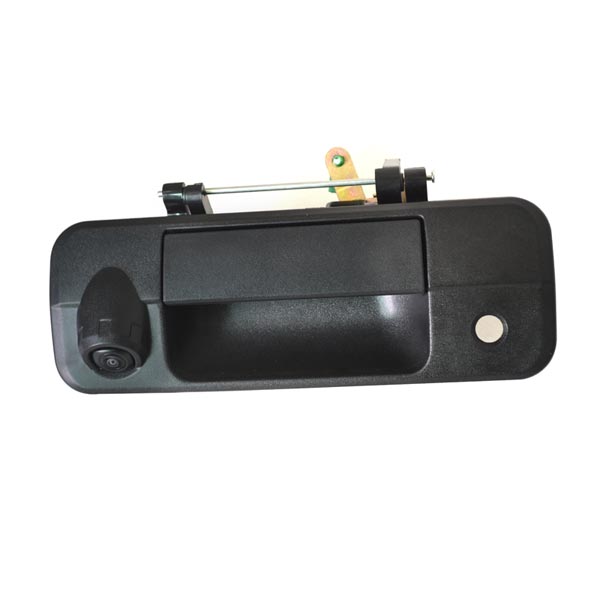
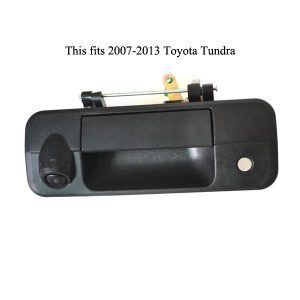
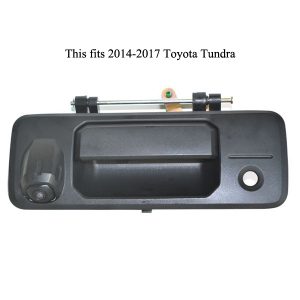
- Quickly replaces your existing tailgate handle.
- A tailgate camera and monitor combination that works straight out of the box.
- Night vision capability helps maintain your safety at night.
- IP67 waterproof rating means the camera is completely protected from dust, rain, and water splashes.
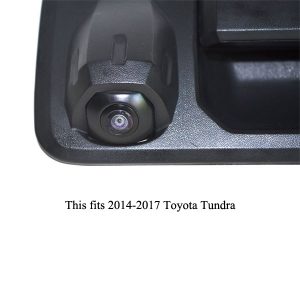
- 170° wide viewing angle provides you with a wider and more detailed backup view.
Step By Step Installation and Wiring Guide for this Toyota Tundra Backup Camera System:
You should follow this step by step guide to install your tailgate handle backup camera and monitor system in your Toyota Tundra trucks.
Step 1: Test the equipment first. Before you do anything else, first make sure that everything is okay and working as they should. Lay the cable from the back of the truck to the front and make sure it’s the right length. Connect the camera to the monitor and check that they work. If everything is okay, then move on to step two.
Step 2: Install this Toyota Tundra backup camera. This step requires that you carefully remove the tailgate handle before replacing it. Depending on Toyota Tundra truck’s model, you may need to remove the 6 T30 screws first that hold the back cover of the tailgate. Then you can get to the 11mm nuts that hold the tailgate handle. Once done, install the new handle with the camera and screw it into place.
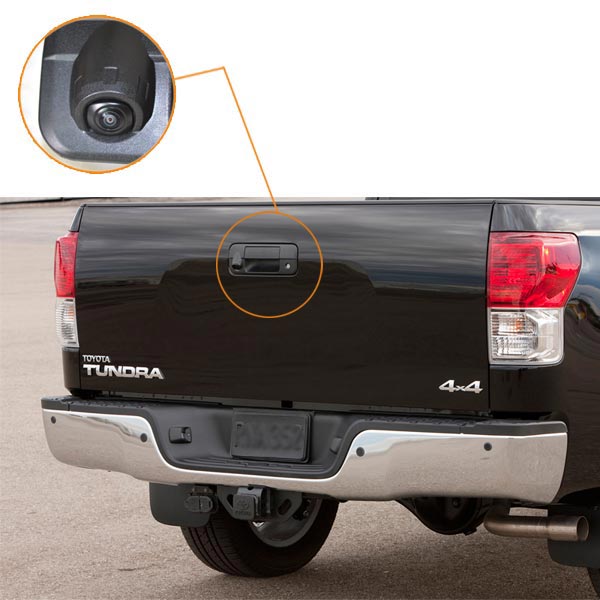
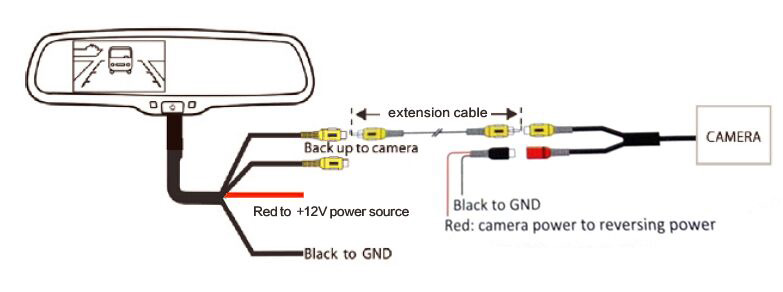
Step 3: Run cable. You’ll need to run cable from back to front to properly install the video cable. Feel free to use grommets to protect your cable. The Red +12V cable connects to an ignition power source, while the Black -12V cable connects to the GND. The trigger wire goes to the backup light circuit, while the video cable connects to AV2 on the monitor. You’ll need to unscrew and open up your rear lights for this. Also, with the tailgate open and lying flat, you can see a hole to pass the cable from the tailgate into the truck bed and then further along the side, to the cabin.
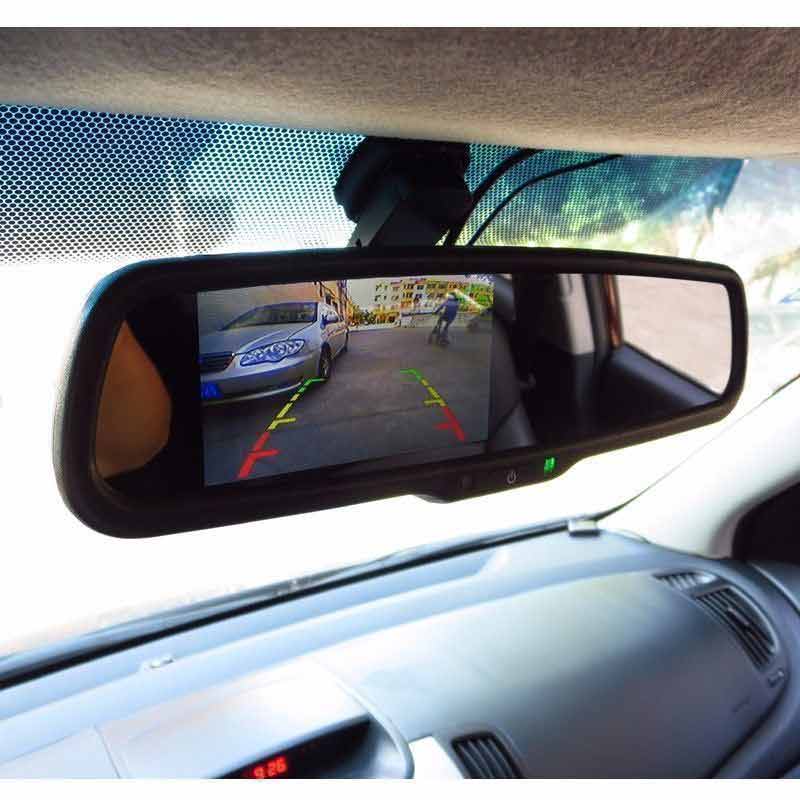
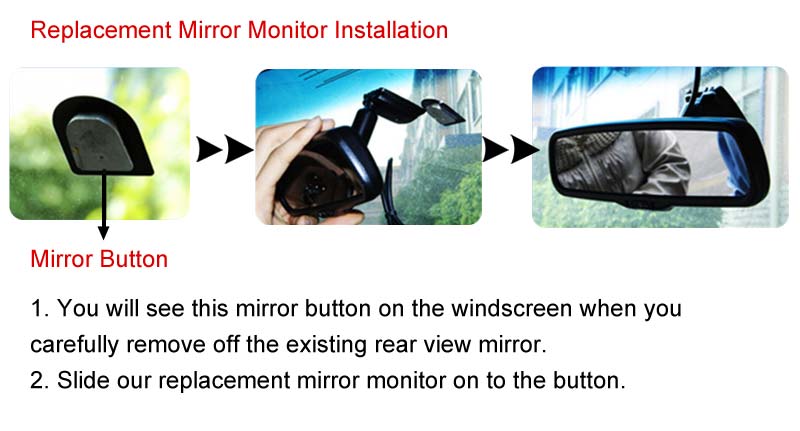
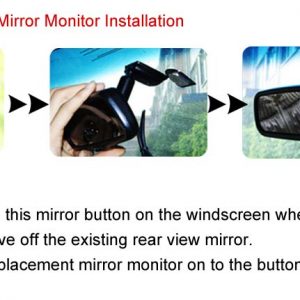
Step 4: Carefully remove the existing mirror. Removing the rear view mirror on a Toyota Tundra is easy. Just slide it off the hook. If it appears a little stubborn, then insert a small Allen key on the lower side between the mirror and the hook on the windshield, and pull the mirror out.
Step 5: Replace with mirror monitor. Now replace the old mirror with our new replacement rear view mirror monitor and make sure it sits tight.
Step 6: Connect all cables. Connect all the cables together and run a last check to make sure everything is properly fitted.
Step 7: Test. Now just start up your truck, move into reverse, and your mirror monitor should light up.
Frequently Asked Questions for Toyota Tundra Backup Camera System:
1. Can I wire this Toyota Tundra backup camera & rear view mirror monitor always be on ?
Yes, it is OK. It depends on the wiring of power source. If you use the backup light power source it will only come on in reverse (when the backup lights are on). If you use a full time source such as 12V accessory socket (cigarette lighter) it will be on whenever there is power there.
2. Does this tailgate handle reverse camera system fit my Toyota Tundra trucks ?
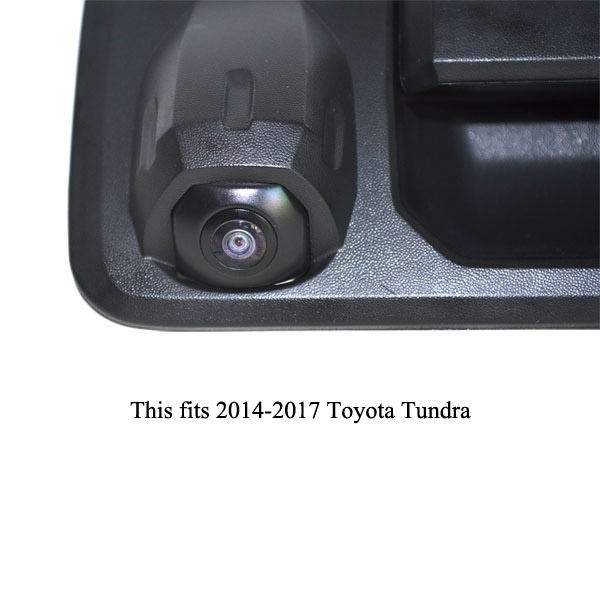
It fits 2007, 2008, 2009, 2010, 2011, 2012, 2013, 2014, 2015, 2016, 2017 Toyota Tundra models. You need to choose a “Vehicle Year” before adding it to cart.
3. Does it offer parking grid lines ?
Yes. If you’ve driven a vehicle with distance grid parking assistance before, then you should know how valuable this feature is in any backup system. Our backup camera package features distance grid lines and allows you to either switch it On or Off. Although you could, if you wanted, but you don’t even need to make any adjustment to the grid lines in this system.
4. This Toyota Tundra backup camera is waterproof ?
Yes, it is 100% waterproof with IP68 rating. The IP or Ingress Protection rating is used to classify the degree of protection of an electric device against solids and liquids. The first number after the ‘IP’ refers to protection against solids, while the second number refers to its protection against liquids. This guarantees that rain, water splashes, water jets, and dusty roads, will have absolutely no adverse effect on the camera.
5. What is the viewing angle of this tailgate handle rear view camera ?
Our Toyota Tundra backup camera features a 170° viewing angle, you can be sure to pick up every little detail or movement behind your truck. A 170°-wide camera lens is currently the widest and best angle that you can get without visual distortions to the imagery behind you and your truck. Viewing angle refers to the amount of detail that a camera can pick up at a fixed position to a scene. This means that a camera with a wider viewing angle picks up more information from a scene than a camera with a narrower viewing angle. A wide viewing angle is important in backup cameras because it enables the driver to take in as much detail as possible.
6. This Toyota Tundra backup camera has night vision ?
Our Toyota Tundra tailgate handle backup camera also offers an impressive feature of night vision capability from as little as a 0.5 Lux illumination. Lux is a measure of light intensity, just like Lumens also is. One Lux is the amount of light falling on one square meter, from one candle that is one meter away. A 0.5 Lux rating, therefore, means that this camera requires less light than is produced by a single candle in order to pick up different objects in the environment and to properly display the scene at night.
Toyota Tundra Backup Camera Specification :
- Image sensor : top CMOS
- Resolution :756(H) X 504(V)
- TV line :600TV lines
- TV System :PAL/NTSC compatible
- Waterproof rating :IP68
- Lens :1.7mm
- Viewing angle :170°
- Power voltage :DC12V-24V
- Operation Temp. :-20℃~+70℃
- White Balance :Auto
Replacement Mirror Monitor Specification :
- Monitor size :4.3 inch
- Monitor type :OEM replacement mirror monitor
- Resolution :480 x 272
- TV System :PAL/NTSC compatible
- Weight :600g
- Video input : 1 channel
- Power :DC12V-24V
- Brightness :400cd/㎡
5 inch Clip-on Mirror Monitor Specification :
- Monitor size :5 inch
- Monitor type : Clip-on
- Resolution :480 x 272
- TV System :PAL/NTSC compatible
- Weight :400g
- Video input : 2 channels
- Power :DC12V
7 inch Clip-on Monitor Specification :
- Monitor size :7 inch
- Monitor type :clip-on
- Resolution :800X480
- TV System :PAL/NTSC compatible
- Weight :500g
- Video input : 2 channels
- Power :DC12V
- Brightness :400cd/㎡
Self Standing Monitor Specification :
- Monitor size :7 inch
- Monitor type : self standing with 2 mounting options
- Resolution :800 x 480
- TV System :PAL/NTSC compatible
- Weight :700g
- Video input : 2 channels
- Power :DC12V-DC24V
- Brightness :400cd/㎡
In the Box :
- 1 X OEM Backup Camera for Toyota Tundra
- 1 X self Standing Monitor ( if you choose self standing monitor)
- 1 X 7 inch Clip-on Monitor ( if you choose 7 inch clip-on monitor)
- 1 X 5 inch Clip-on Mirror Monitor ( if you choose 5 inch clip-on mirror monitor)
- 1 X 4.3 inch Replacement Rear View Mirror Monitor ( if you choose replacement mirror monitor)
- 1 X 10 Meters Extension Cables (RCA connector)
- 1 X Power Connection Cable
- All necessary Installation kits
- 1 X Manual
Toyota Tundra backup camera system troubleshooting guide:
If you are not getting any camera image on the monitor after installation, please use the following troubleshooting tips to try to resolve the issue:
For a blank screen, try these:
a)Verify that the cable is properly attached to the camera.
b)Verify that the cable is properly connected to the monitor.
c)Verify that all cables are plugged into the right ports.
d)Check and make sure that the power cable is properly connected to a 12V power source.
e)Verify that the 12V power source is producing power for the trigger wire.
f)Try connecting the camera’s output cable to an external TV to see if the camera is okay. (Remember to provide constant power to the camera when doing this.)
g)If all else fails, unplug all the video and power cables. Leave the system untouched for 1 minute at least, and then re-connect everything and retest.
If the monitor powers up, but you are not receiving any video images, then try the following:
a)If the monitor displays an error message, then it is probably the culprit.
b)If the monitor powers up correctly but you see no video, then either the camera or cable connections are at fault.
c)Try connecting a second camera to the monitor to see if it will produce an image.
d)In the absence of a camera, you can also use a DVD player or any other player that produces a composite video signal through a yellow RCA cable.
Does the monitor power on when you engage the reverse gear?
a)If the monitor powers on when you engage reverse, but it does not show any video, then the camera or video cable connection could be faulty.
b)If the monitor does not power on when you enter reverse, then either the monitor itself or the cabling is at fault. Make sure that the green trigger wire is connected to a 12V reverse light. Measure the reverse light source, if possible, to be sure.
c)Verify as well that the Red (+) power cable is properly connected to a 12V source.
Screen is Flickering
a)Check for a possibly damaged cable. If the video cable or its plug is damaged in any way, then partial contacts might cause it to deliver flickering images.
b)Make sure that your connects are tight as well. All plugs should fit snuggly and the power and trigger wires connected to the reverse lights should be tight as well. Solder them if possible.
c)Check to make sure your reverse lights are working. If the reverse bulb is blown, then you should replace it because a non-functional reverse bulb can create issues.
d)If all else fails, then consider connecting the Red (+) power cable to a different location. Insufficient current can sometimes cause system malfunctions.
Miscellaneous Issues
a)The video image is shaking. Check to make sure the tailgate handle is properly fixed and that it is not shaking.
b)Dirty video image. Try cleaning the camera’s lens, as well as the mirror monitor.
Following are important safety considerations you will have to keep in mind when installing this Toyota Tundra backup camera system.
- Cable safety. It’s important that you clamp all the cables securely and away from hot or moving parts, to keep them safe.
- Mirror safety. The mirror is made of glass. Do not subject it to excessive pressure or drop it on the floor, because it can get damaged.
- Wiring polarity. Please make sure that you follow the instructions and install the cables with the correct polarity, else the camera or monitor could get damaged. Also avoid leaving any wiring exposed, as this could come in contact with the vehicle’s body and possibly damage the system. Always tape naked wires.
- Smoke and burning smell. If you become aware of smoke or any burning smell during the installation, please disconnect the system immediately.
- Adjustable grid lines. You don’t need to adjust your grid lines because this system is tailored to your truck. However, you may need to confirm that everything is okay and that the green line represents 3 meters from your truck, the yellow line 2 meters, and the red line 1 meter. The full red line should as well represent 0.4 meters.
- Wire Splicing. For all splicing purposes, following is the outline of the different wires in the 66-ft. Cable. Red is for power (+), yellow is the video signal cable, green is the trigger cable, white is for audio, while black is ground (-).
- Required tools. You will require a drill/driver with 20mm bit, a T30 Torx bit, and an 11mm socket wrench, plus a few cable clamps, eventually.
| Weight | 2.5 kg |
|---|---|
| Vehicle Year | 2007-2013, 2014-2017 |
| Monitor Option | Self Standing Monitor, 7 inch Clip-on Monitor, 5 inch Clip-on Mirror Monitor, Replacement Mirror Monitor, No Monitor |
| Shipping Method | Free Economic Shipping (15-25 Days Delivery), Fast Express Shipping (3-7 Days Delivery +$19) |
Only logged in customers who have purchased this product may leave a review.
Related products
Backup Cameras
OEM Backup Camera for Ford Mondeo / Land Rover / Range Rover
Backup Cameras
Backup Cameras





Reviews
There are no reviews yet.